Table of Contents
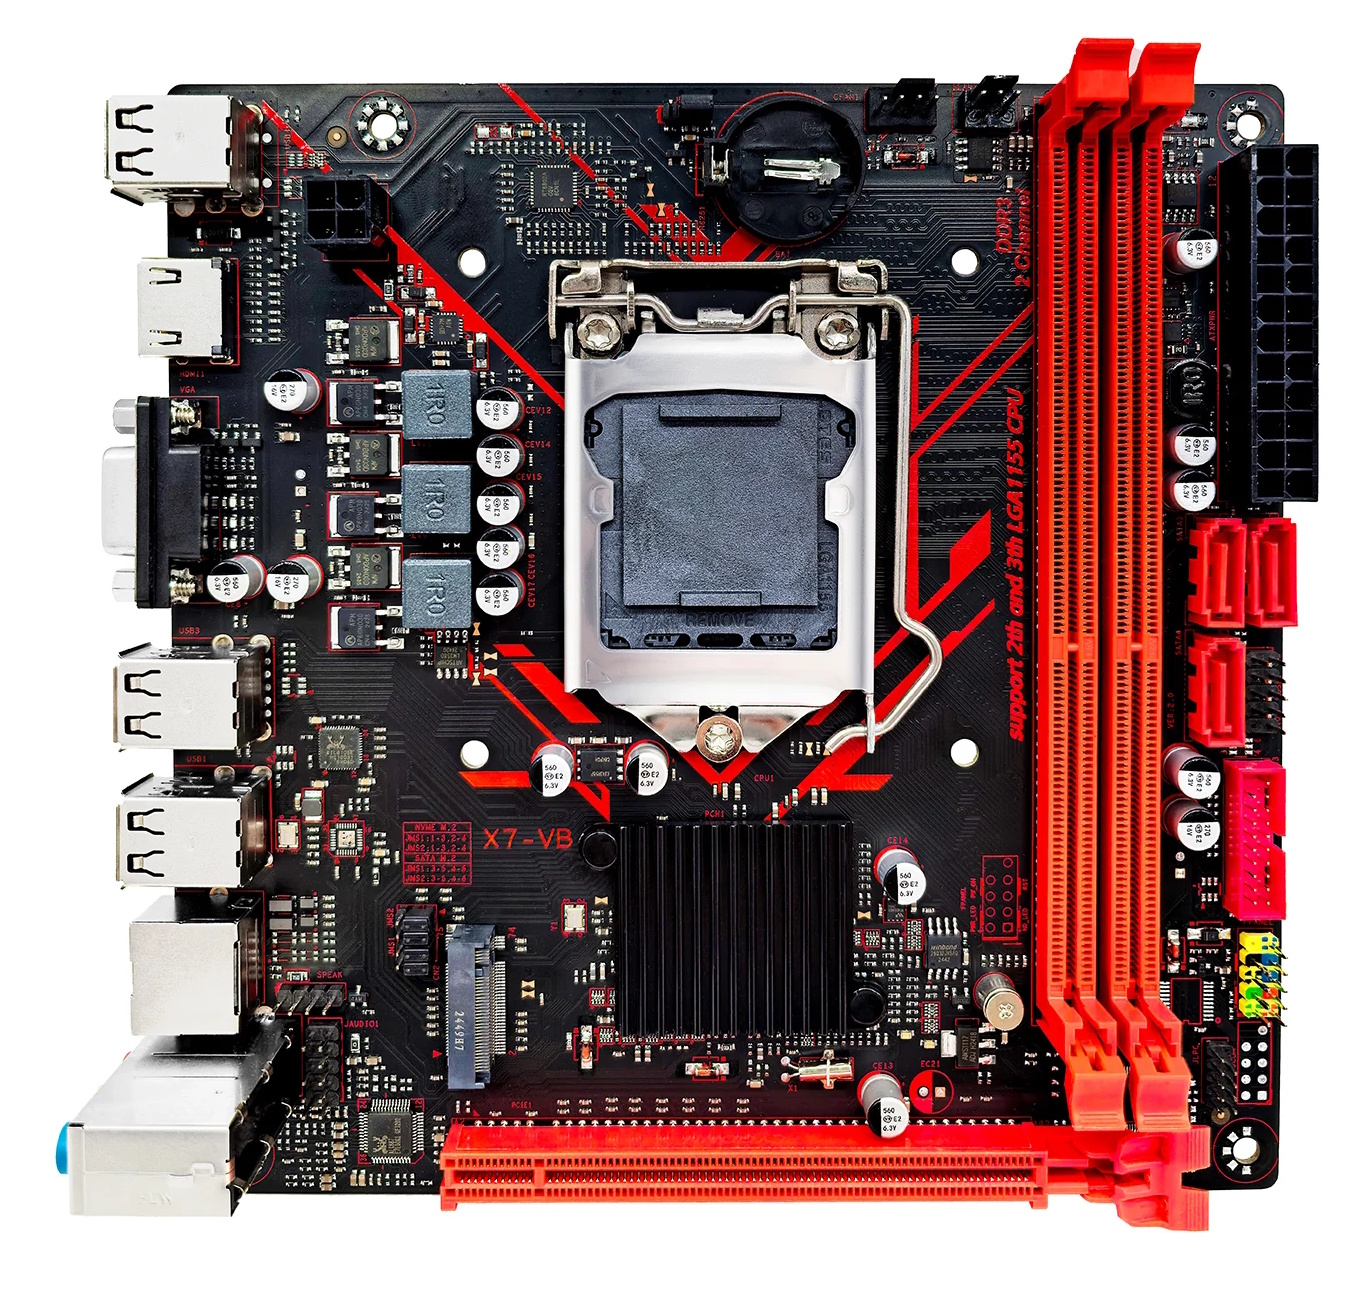
Boards with the X7-VB branding have been around for quite some time. These are entry-level ITX models for Socket 1155, manufactured by Ancthumb and sold under numerous Chinese brands — ranging from ZSUS and Mougol to Machinist and Soyo.
Despite some rough edges and an extremely basic design, the board is still in production and has already gone through several revisions.
There is also a practically identical board for the LGA1150 socket—the X8-VB.
Specifications
| Model | X7-VB v2.0 |
|---|---|
| Socket | LGA 1155 |
| Chipset | H61 / B75 / Q77 |
| Supported Processors | Intel Core i3/i5/i7, Xeon E3, Pentium, Celeron Gen: 2nd / 3rd Generation (Sandy Bridge / Ivy Bridge) |
| VRM Configuration | 3 Phase Total MOSFETs: 6 (1 high-side + 1 low-side) |
| Supported Memory | 2 x DDR3 DIMM (dual-channel) Maximum capacity: 16 GB Maximum frequency: 1600 Mhz |
| Sleep Mode Support | No |
| Expansion Slots | 1 x PCI-e x8 (Gen 2.0/3.0) |
| Storage | 3 x SATA (up to 1 x SATA 3.0 + 2 x SATA 2.0, depends on chipset) 1 x M.2 (NVME/NGFF, Gen 2.0 x4) |
| Fan Connectors | 1 x CPU cooler (4pin) 1 x Case fan (3pin) |
| PS/2 Ports | - |
| USB Ports | Up to 2 x USB 3.0 / 6 x USB 2.0 (depends on chipset) |
| Network | 10/100 Mbps (RTL8105E) |
| Audio | 5.1 channel (ALC887) |
| Bios Chip | Winbond 25q32jvsiq |
| JLPC1\DEBUG header | Yes |
| TPM 2.0 header | MSI 14pin LPC (Depends on the motherboard revision) |
| PCB Layers | 4 |
| Form Factor & Dimensions | ITX, 170 x 170 mm |
| Approximate Price |
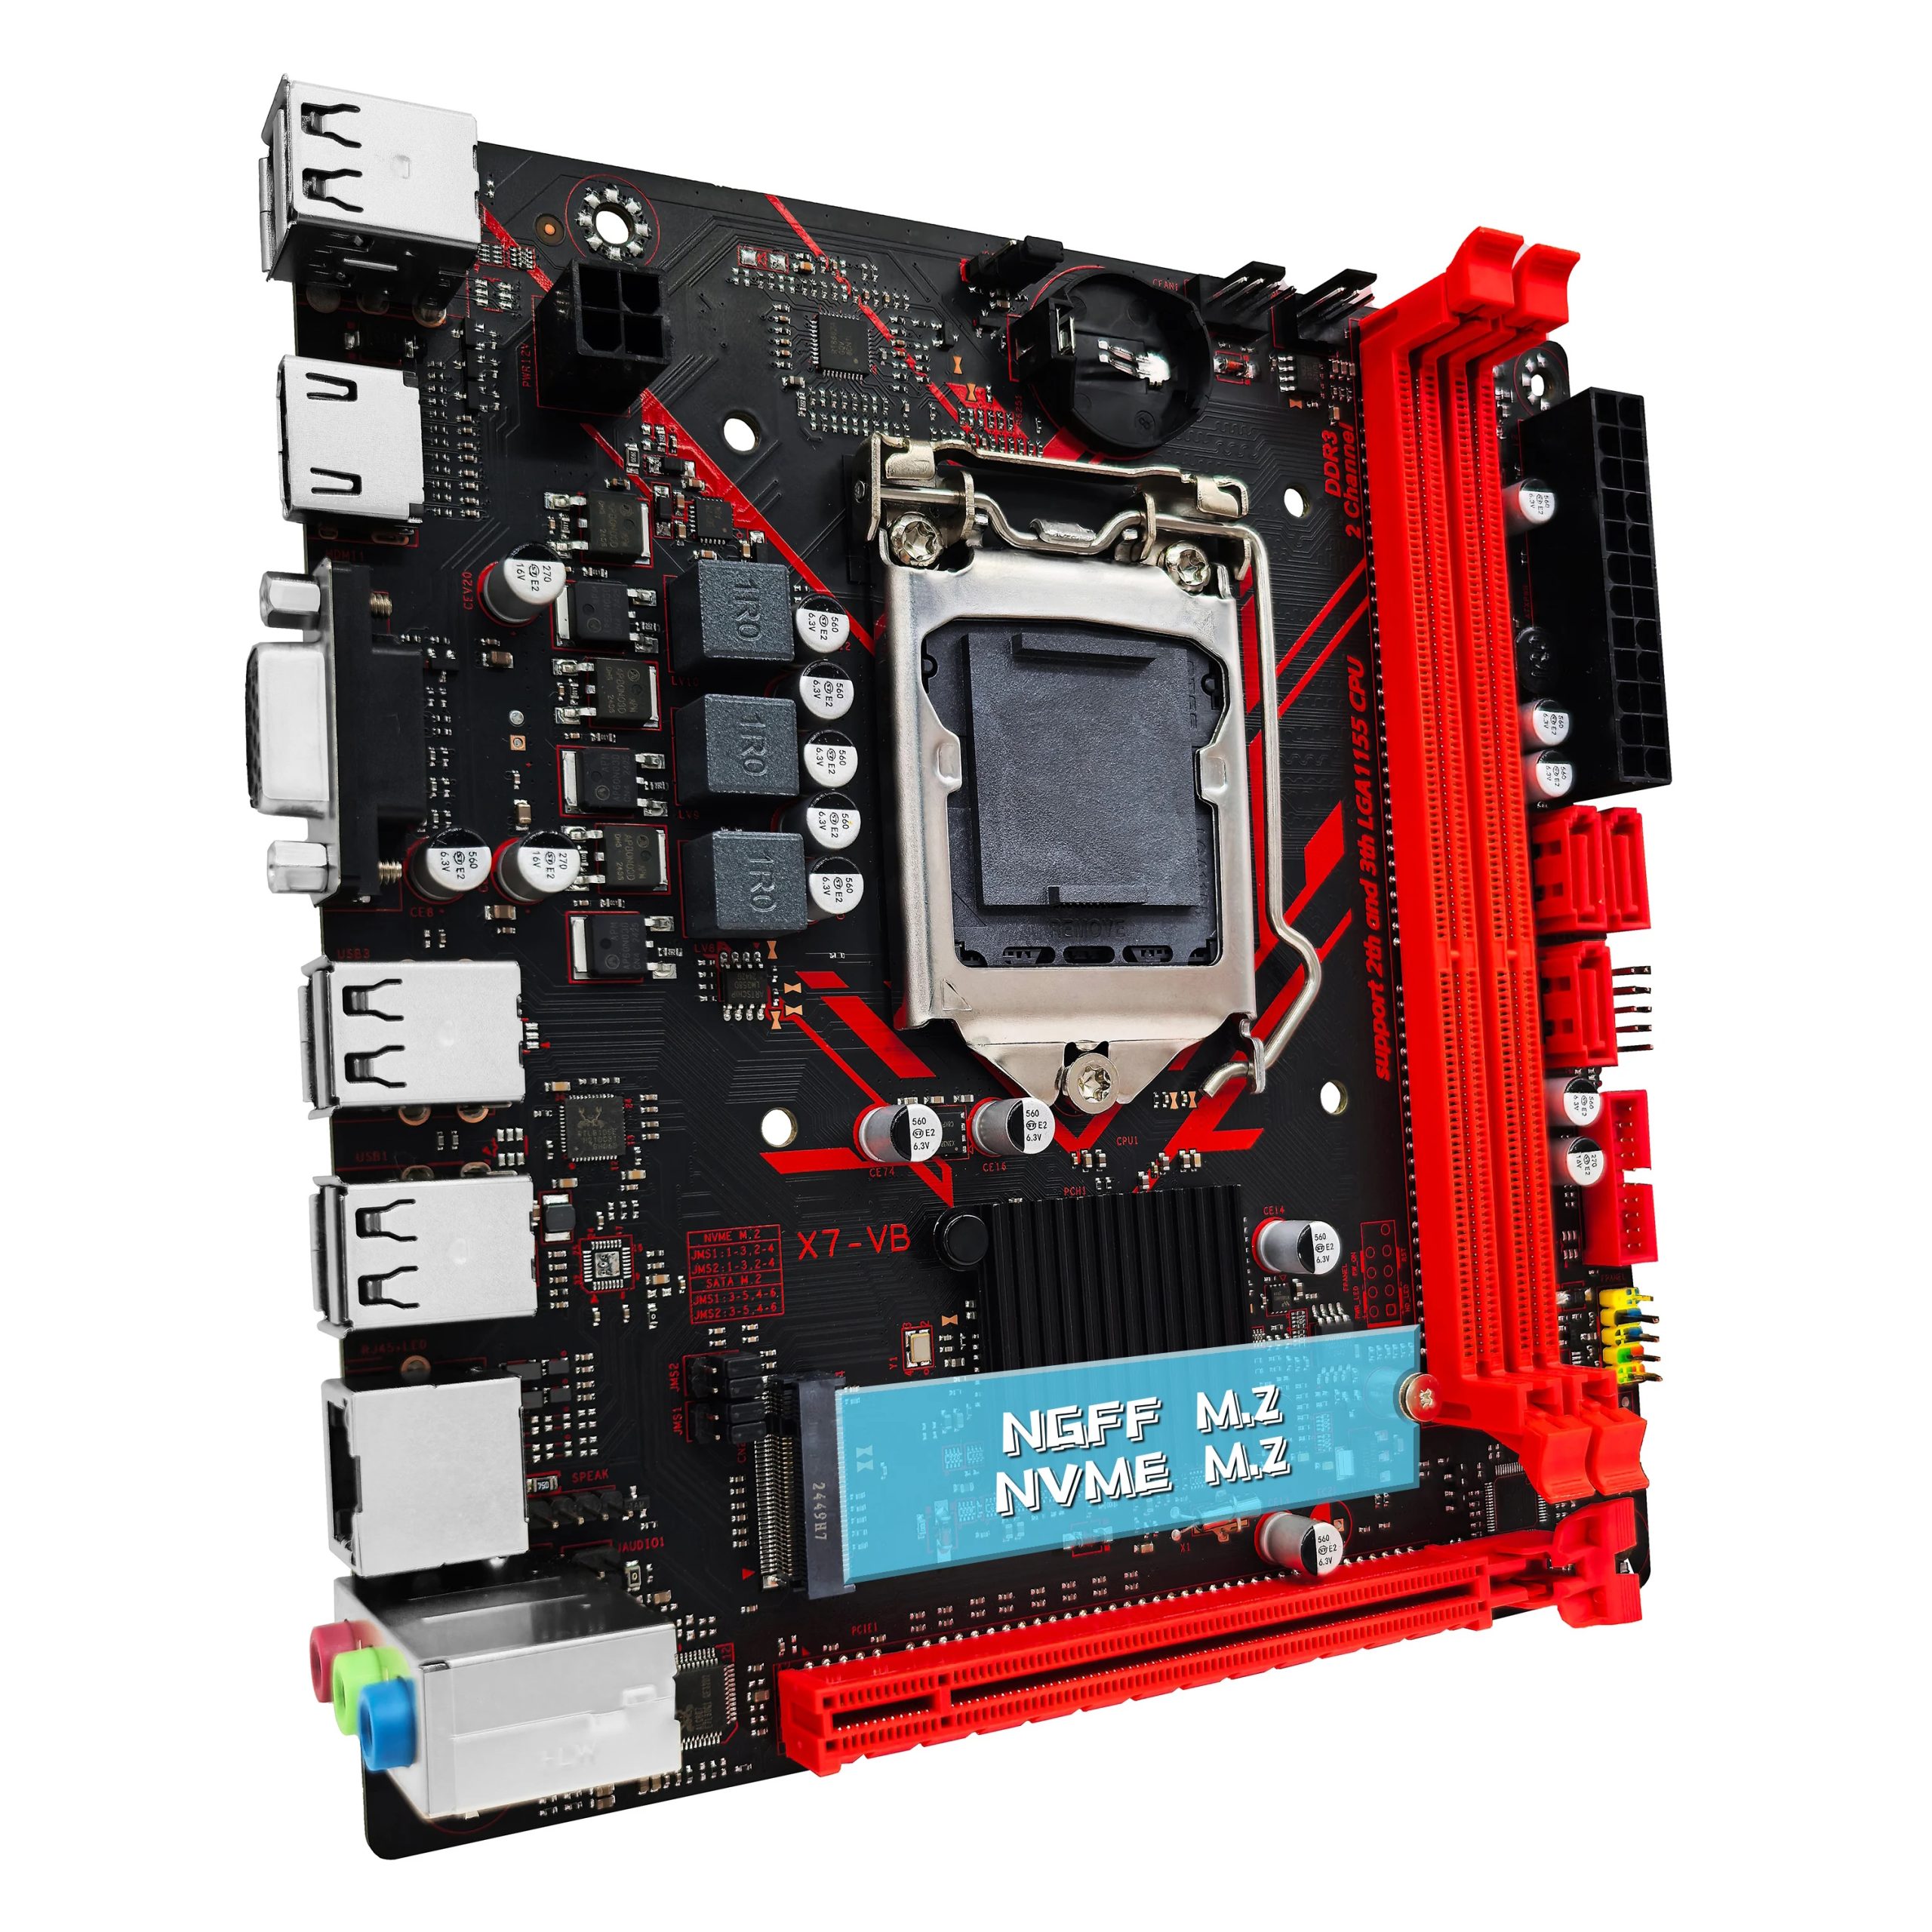
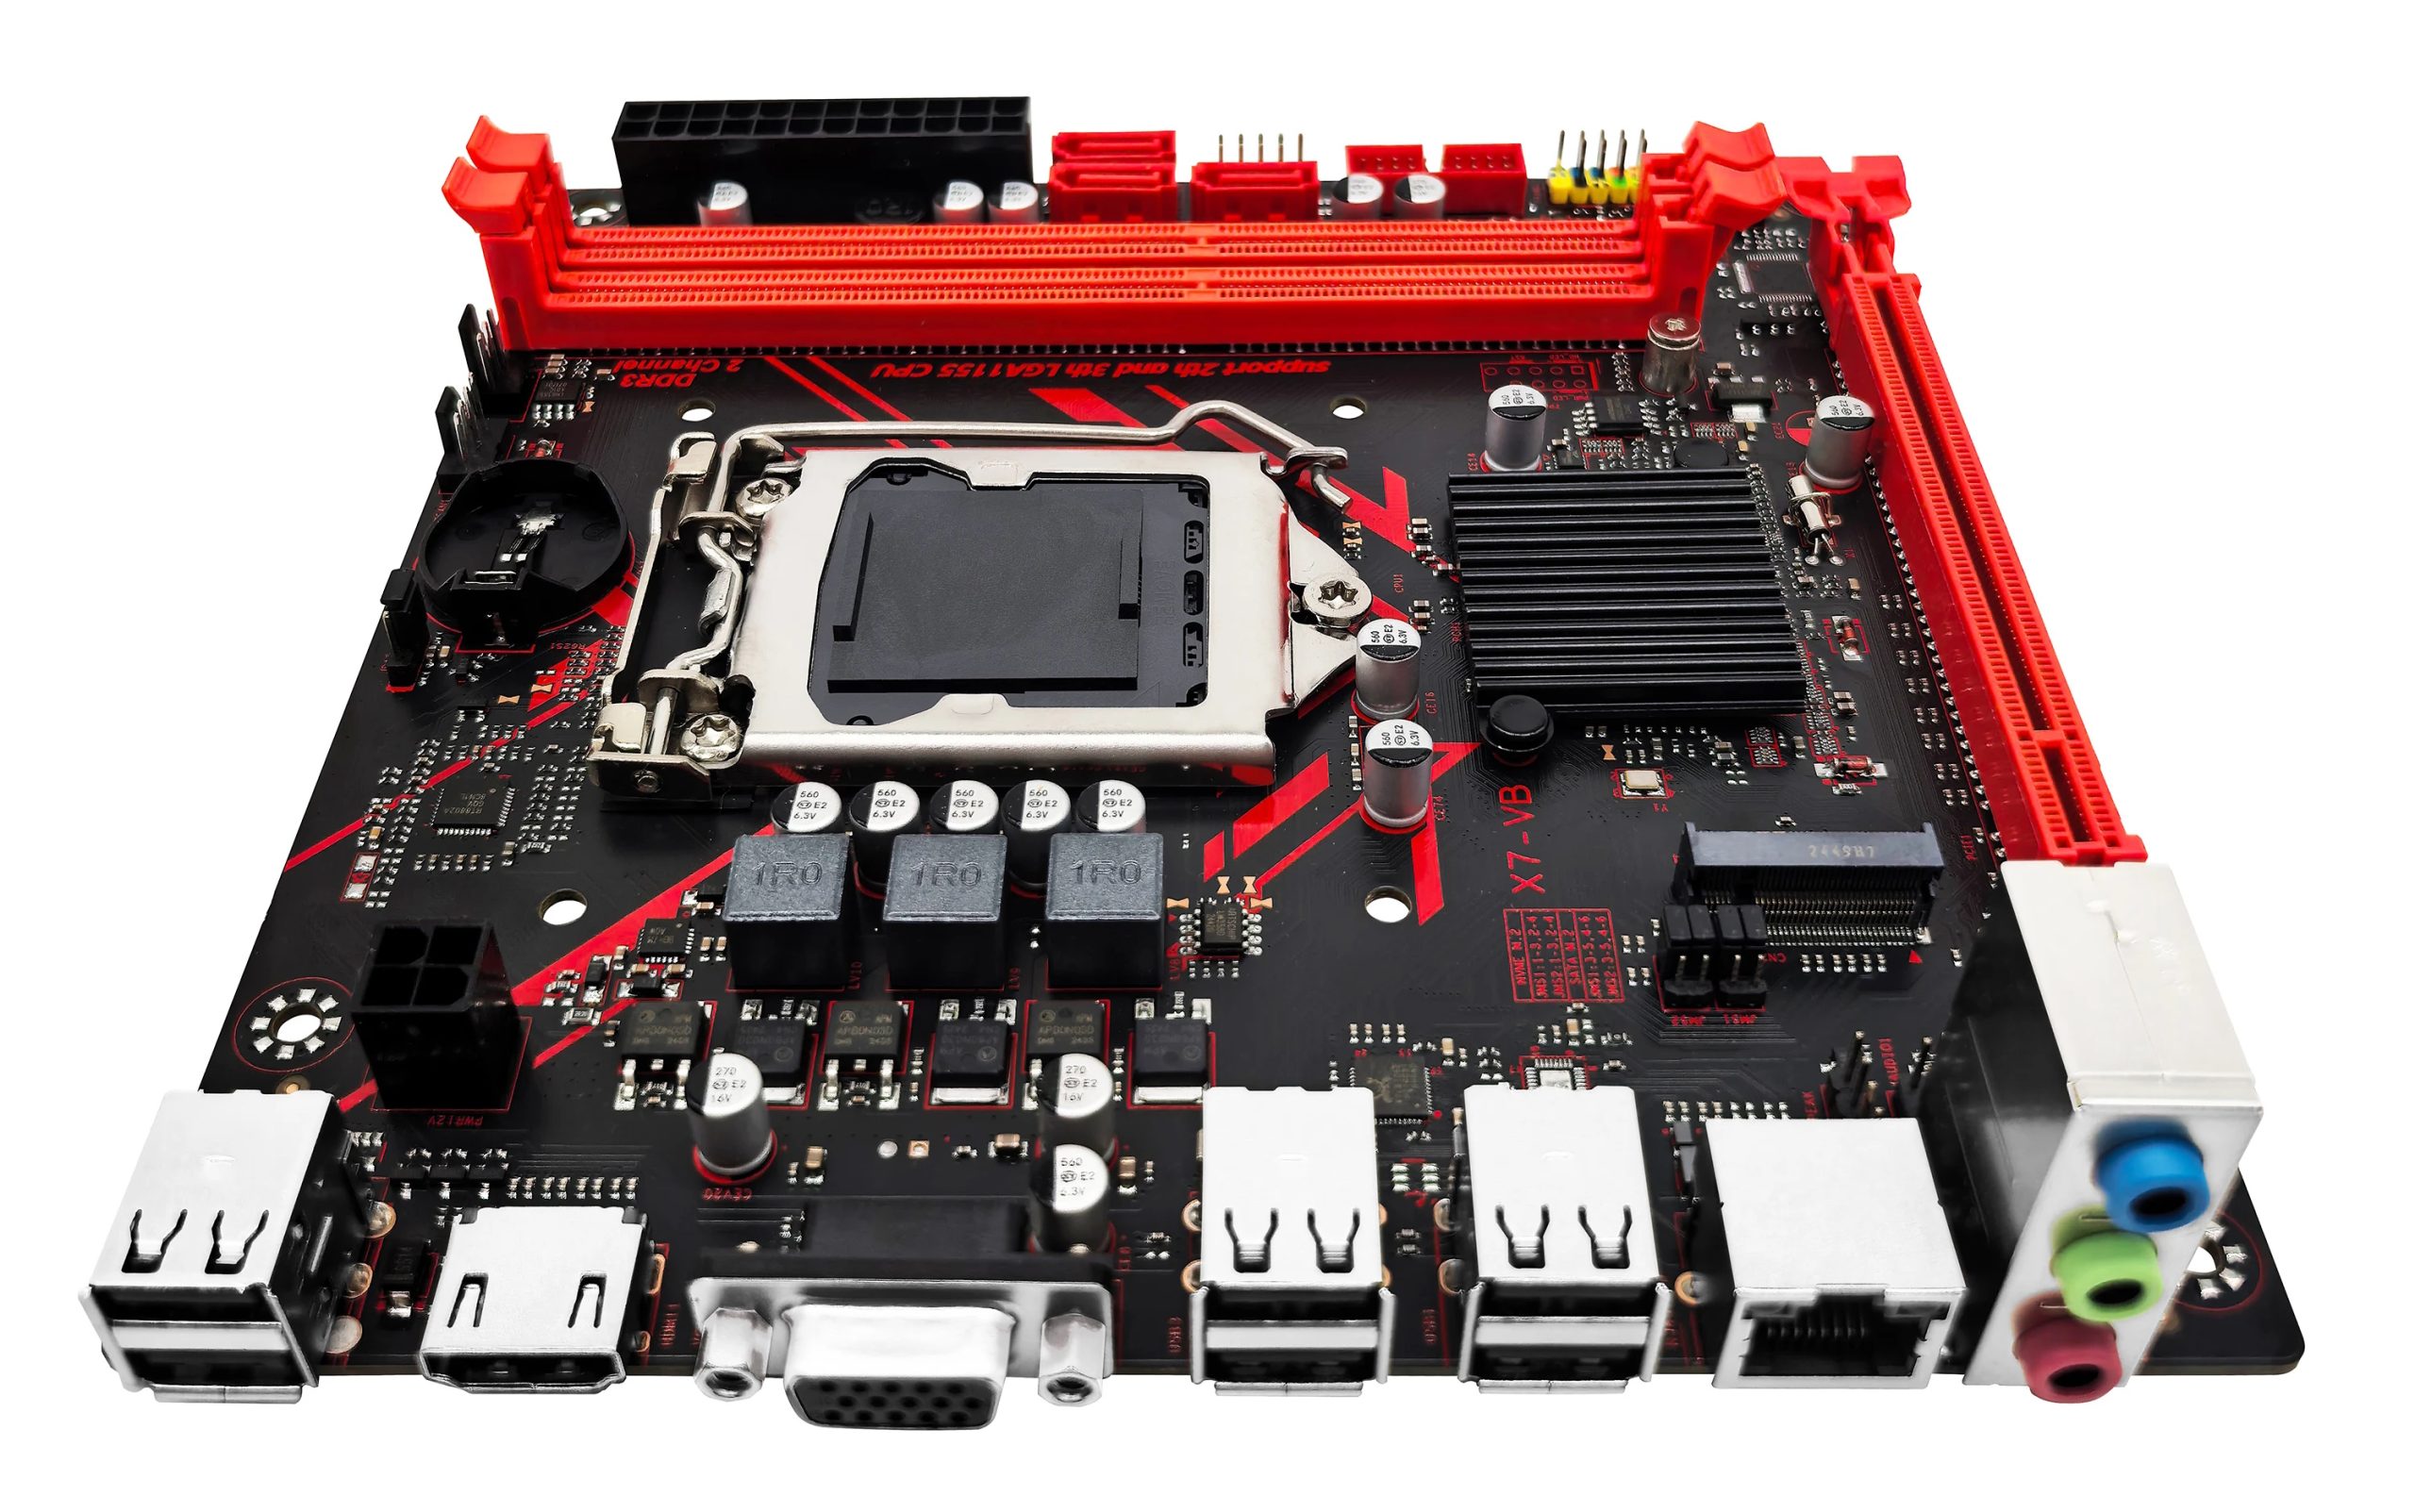
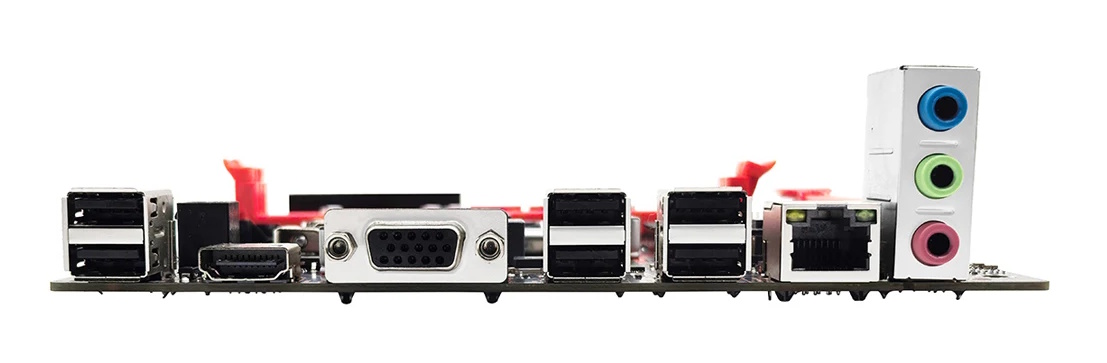
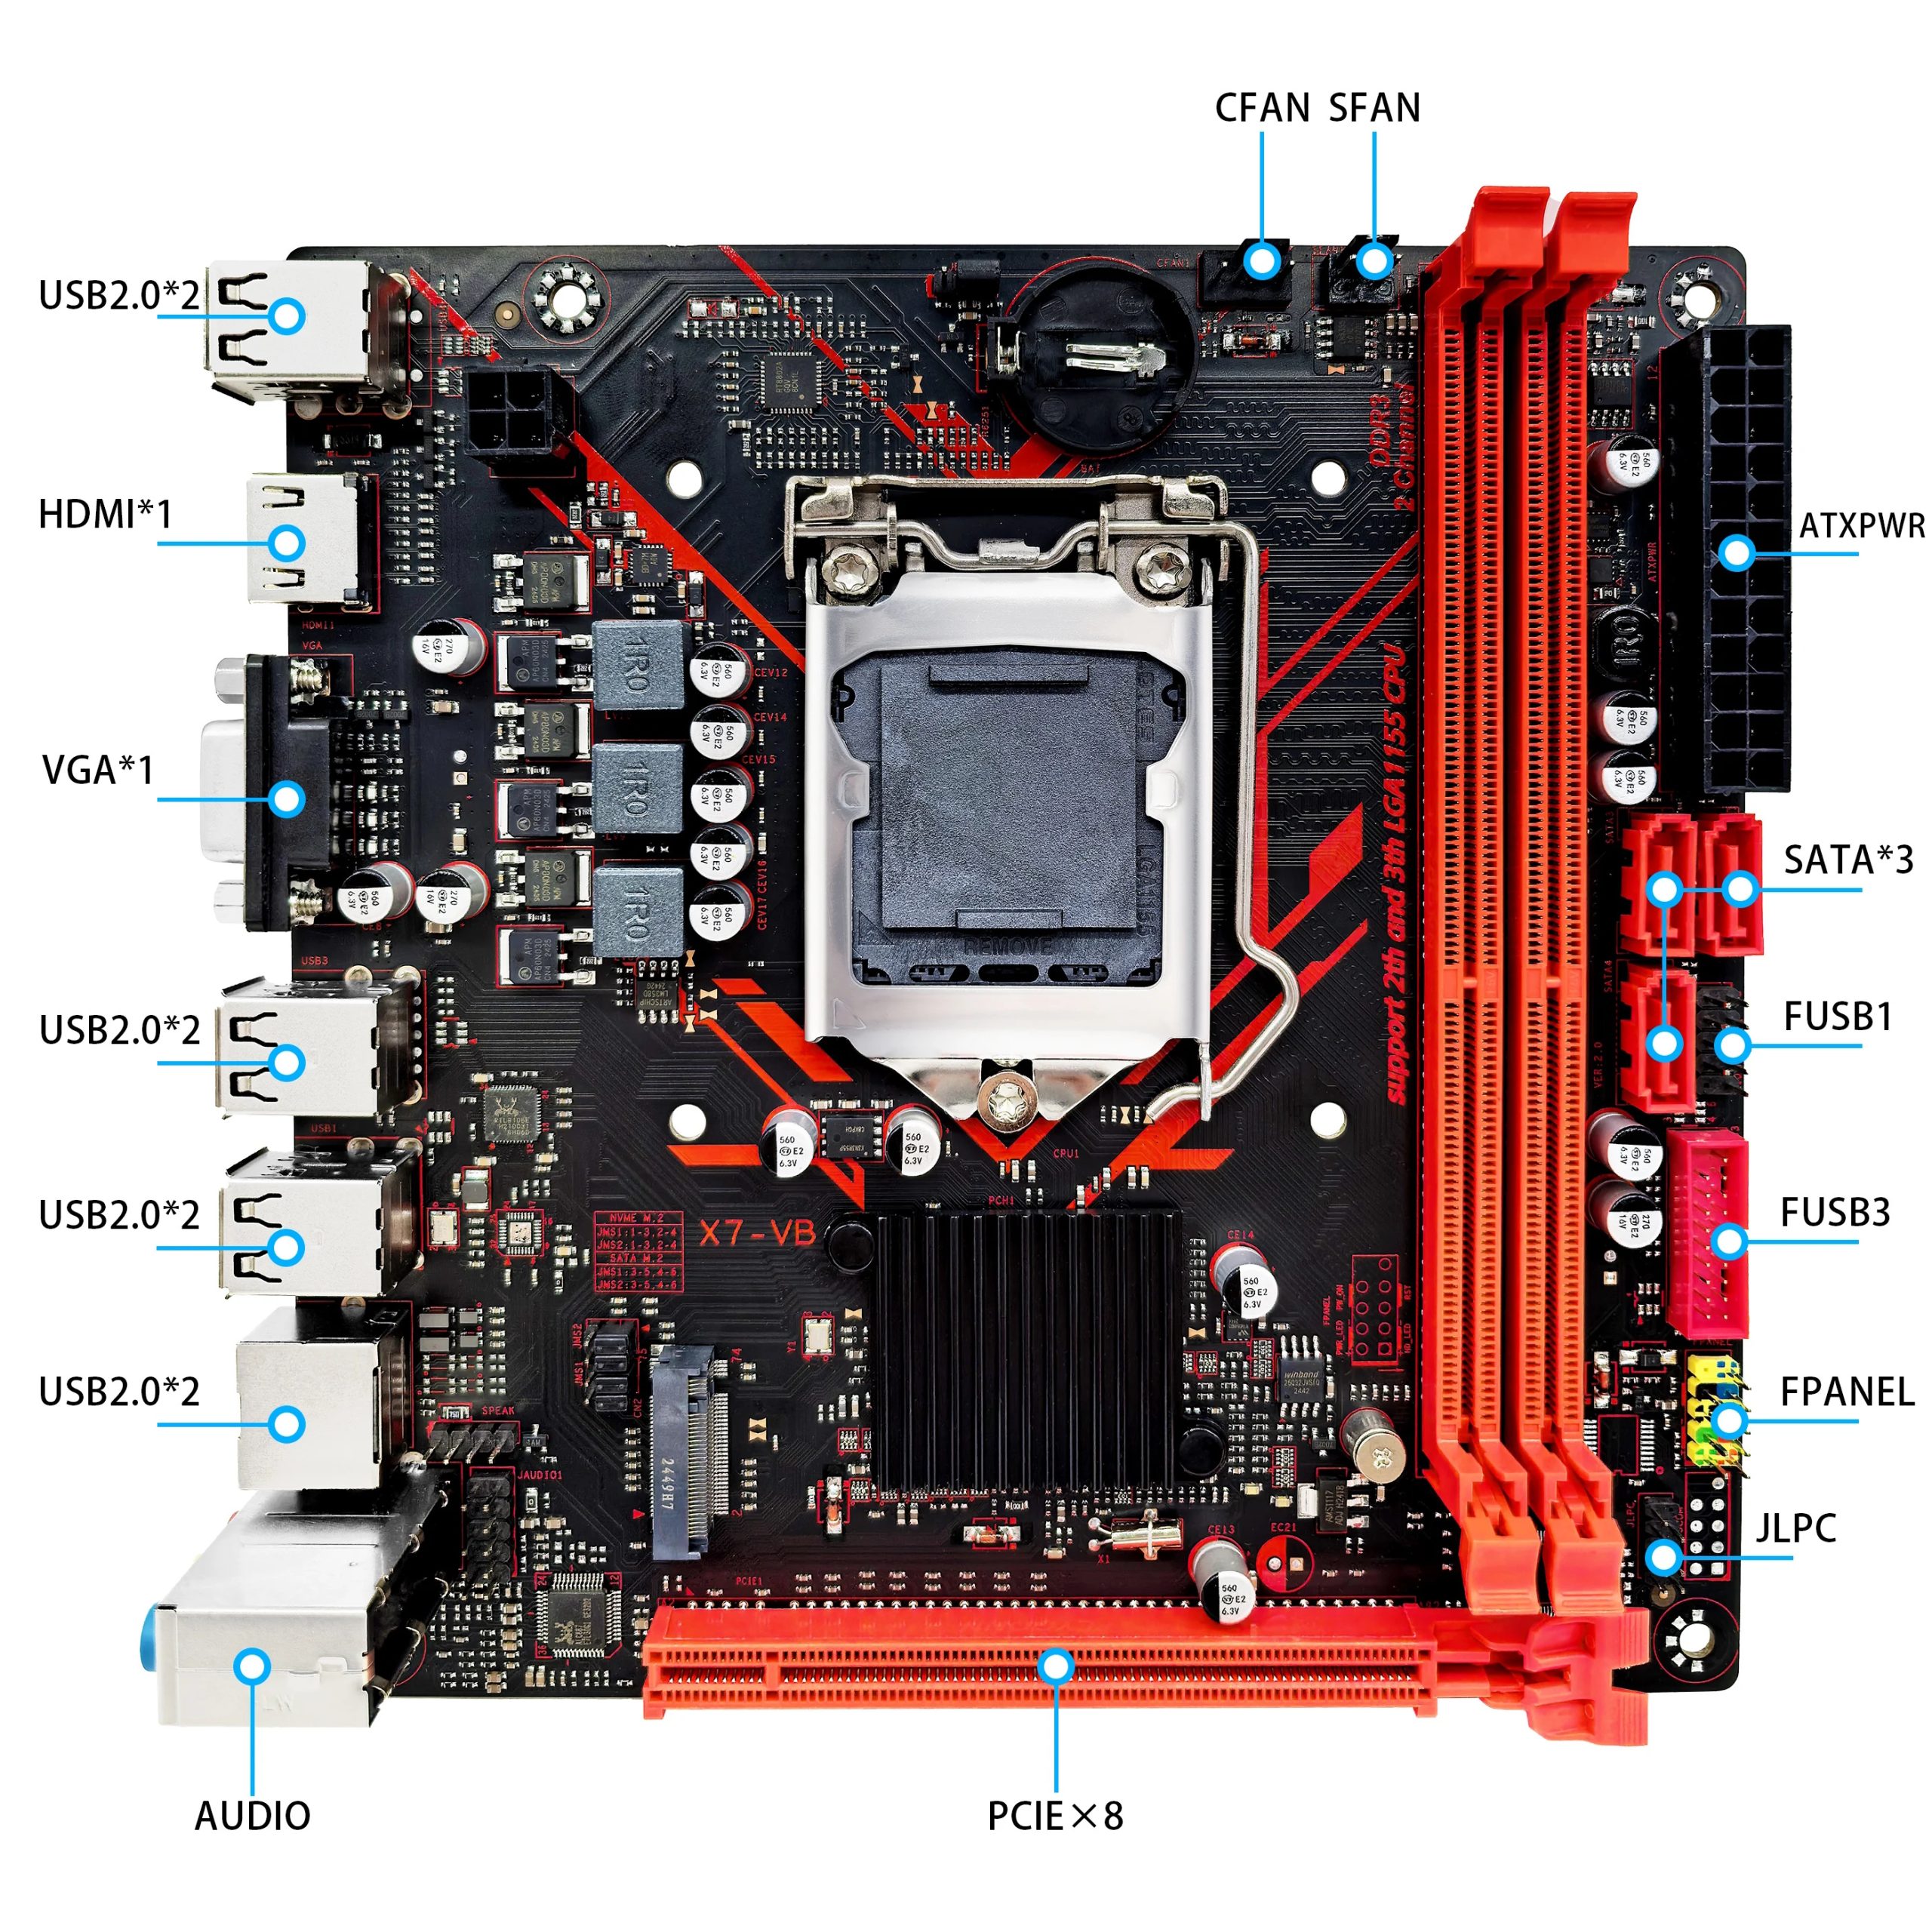
The X7-VB is as budget-oriented as it gets, designed for compact builds. However, the exact feature set depends on which chipset variant you end up with. While higher-tier chipsets like the Q77 or H77 are occasionally used, they operate under the exact same constraints as the B75 due to the board’s physical layout, offering no practical layout or expansion advantages over it.
Two things make this model stand out:
- The absence of a Super I/O controller. The footprint for it exists, but the chip itself is not soldered. This likely allowed for a slight reduction in final cost, but it created many problems: from the inability to control fan speeds to the total absence of hardware monitoring. This is also likely why the board lacks PS/2 and JCOM ports.
- The presence of a full TPM 2.0 port and BIOS support for it.
All the standard ports for the era are present, including HDMI and VGA for processors with integrated graphics. The storage subsystem includes three SATA ports and one dual-mode M.2 slot supporting both NGFF and NVMe drives. On H61 variants, all three storage ports are limited to SATA II speeds, whereas B75 and higher-tier chipsets provide one native SATA III port alongside two SATA II ports. The M.2 slot runs from the chipset, so you’re limited to PCIe x4 Gen 2.0, but even that is noticeably faster than SATA.
The single PCIe slot looks physically like an x16, but is electrically wired as x8 only (lanes come from the CPU, which also determines the PCIe version). Why only 8 lanes are used, and why the remaining lanes weren’t routed to the M.2 slot, is unclear — that’s a questionable design choice by the manufacturer.
The VRM features a classic design straight out of 2012. It’s about as simple as it gets: just 3 true phases for the CPU cores (VCore), controlled by a Richtek RT8802A PWM controller. Each phase uses two MOSFETs from Anpec Electronics — High-Side: AP80N03D, Low-Side: AP60N03D.
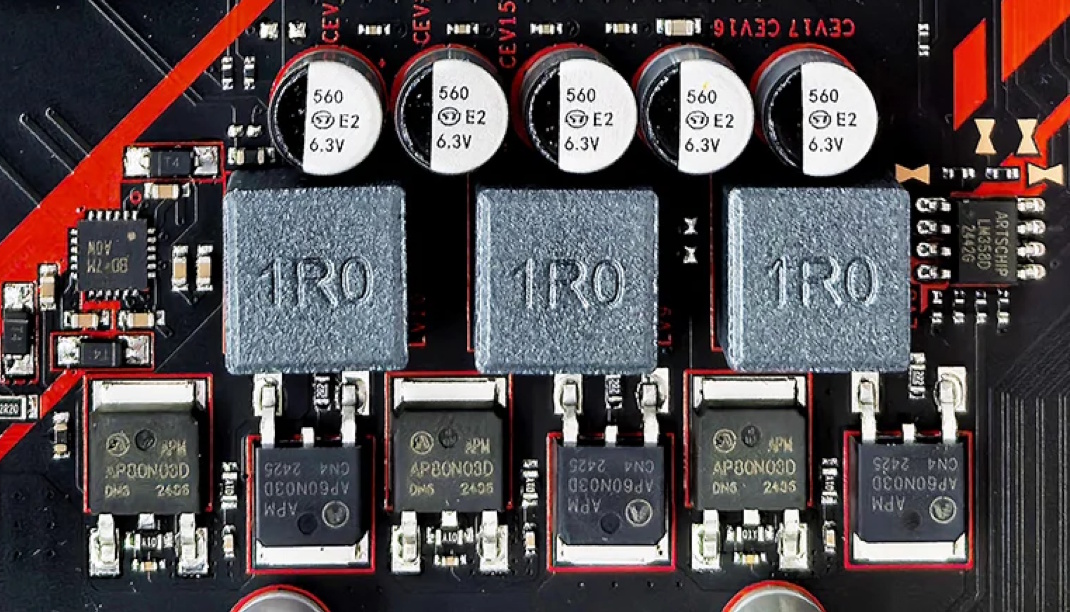
Installing processors with a TDP above 65–69W is a bad idea. The board is a good fit for low-power Core i5/i7 S- and T-suffix models, the ever-popular i5-3470, or power-efficient server Xeons like the E3-1230 v2 / E3-1240 v2 (69W). If you do decide to run a higher-TDP CPU — 77W or the popular 95W models like the i7-2600 — make sure to provide strong supplemental airflow over the VRM area and forget about extended stress tests.
Beyond that, this is a typical budget board through and through: thin PCB, mediocre build quality, and a bare-bones component selection.
Revisions
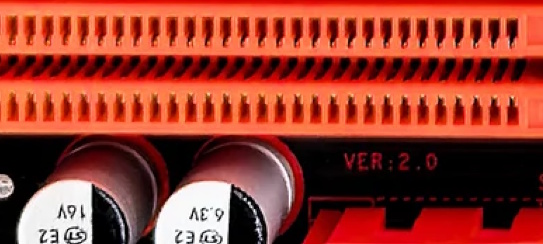
At least a few revisions of this board are known — the original X7-VB, revision V2.0 (the most common), and revision V3.2. The revision can be identified by the marking located between the SATA ports and the DDR3 slot.
Unfortunately, no changelog is available. Visually the revisions are nearly identical, with the exception of a TPM 2.0 header found on boards sold under the Machinist brand (likely revision 3.2).
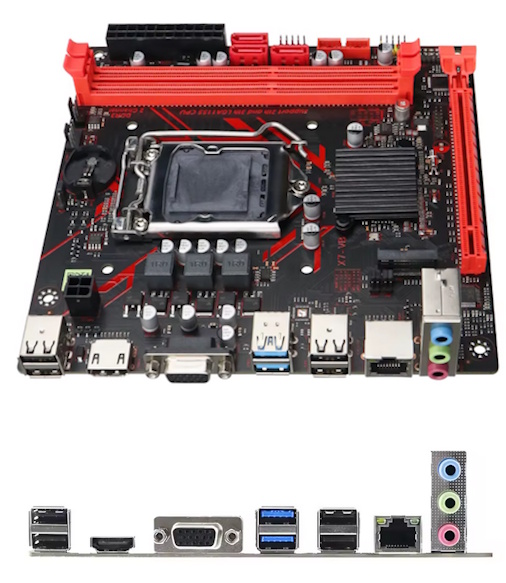
Warning: The blue color of the USB ports can be highly misleading. While some revisions feature blue-colored ports and sellers actively advertise them as USB 3.0, their actual speed depends entirely on the chipset. On H61 variants, these ports will still run at standard USB 2.0 speeds, meaning you must verify the specific chipset revision rather than relying on the color of the plastic.
BIOS Capabilities
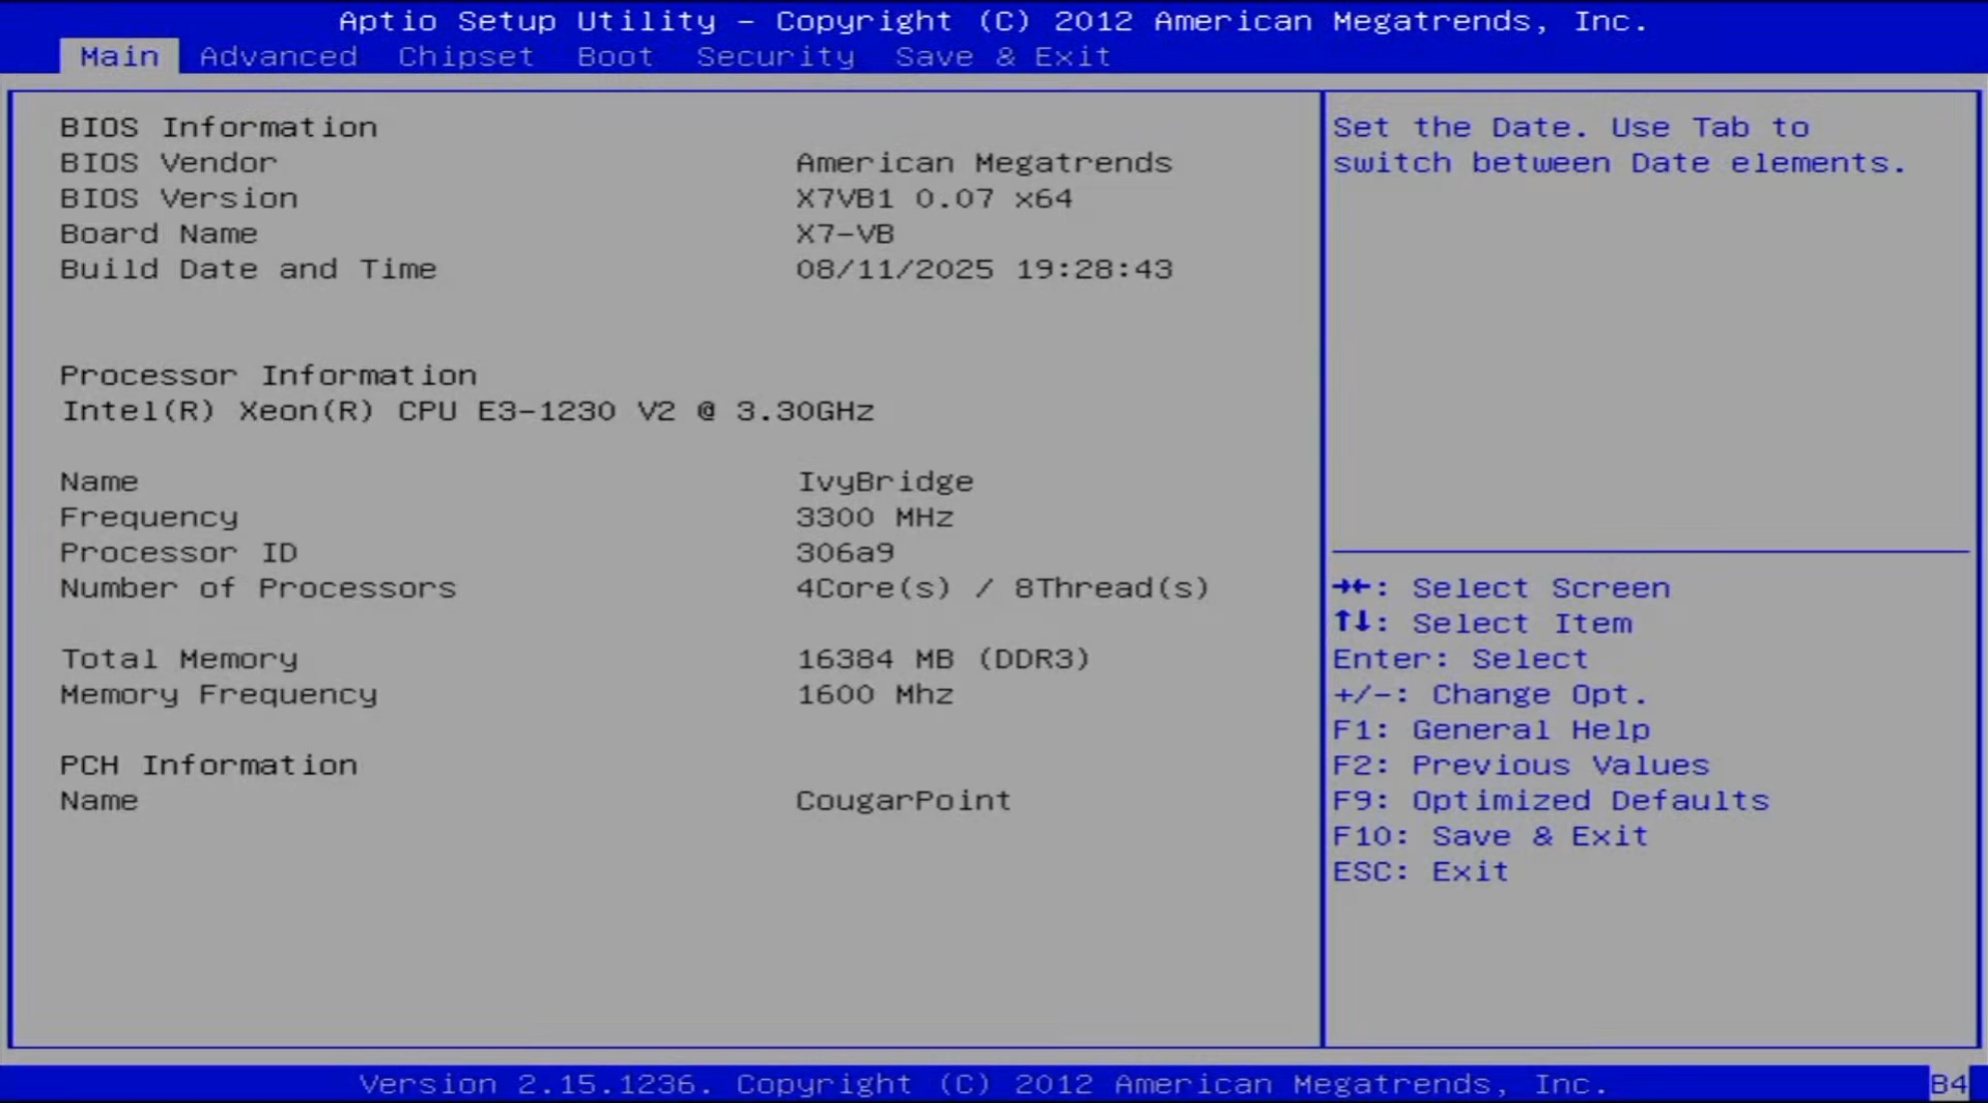
The board runs a typical Aptio IV-based BIOS. There’s no graphical interface or mouse support, but the menu structure and navigation will immediately feel familiar — anyone who has worked with American Megatrends firmware will feel right at home.
All core functionality is available: Hyper-Threading and individual core enable/disable, memory timing control, Above 4G Decoding, Wake on LAN, and Restore on AC Power Loss. Secure Boot is also present (untested), as is support for TPM 2.0 modules.
| Board Rev | PCH | BIOS version & date | Link |
|---|---|---|---|
| V2.0 | H61 | 10/08/2024 16:32:24 Ver: X7VB1001 | [Download] |
| V3.2 | H61 | 08/11/2025 19:28:43 Ver: X7VB1007 | [Download] |
| V3.2 | B75 | 08/11/2025 19:28:43 Ver: X7VB1007 | [Download] |
How to Flash the BIOS
- You will need a USB flash drive formatted as FAT32.
- Download the desired BIOS, extract the archive, locate the «EFI» folder inside it and copy it to the root of the flash drive.
- Restart the system and press F11 during boot.
- In the «Select Boot Device» menu, select your flash drive.
- The update will begin automatically. No action is required — simply wait for the green «FPT Operation Successful» message to appear.
- Once the BIOS is flashed, restart the system to finish the process. After flashing, it is recommended to reset all settings to defaults.
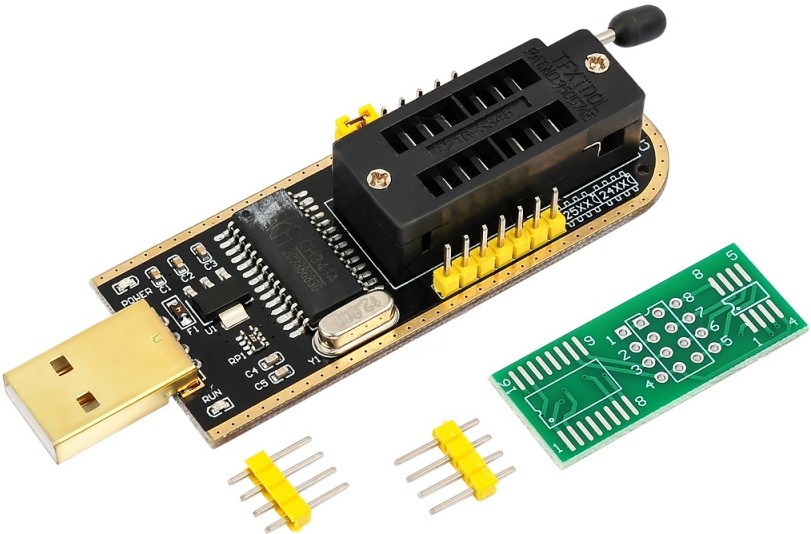
Alternative flashing methods:
Frequently Asked Questions
How do I switch between NVMe and SATA M.2 modes?
Move the jumpers on JMS1 and JMS2 with the PC powered off:
- NVMe mode: Set to the right position (default)
- SATA mode: Set to the left position.
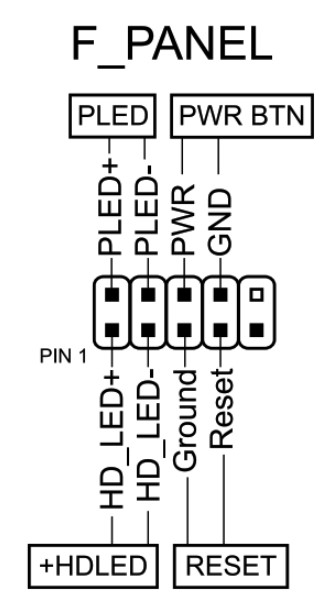
How do I connect the front panel?
Are firmware files cross-compatible between different revisions or different chipset variants?
While there is no definitive answer, firmware for identical chipsets appears to be cross-compatible across different board revisions. Always back up your original firmware before flashing.
Where is the BIOS chip located?
To the right of the chipset heatsink.

Written by
Senior Hardware Specialist proving you don't need top-tier gear to game. Expert in smart upgrades and budget-friendly PC restoration.