Table of Contents
Boards labeled X99H have been known since at least 2021 and can still be found for sale today.
This model belongs to the budget segment and is designed to work with entry-level and mid-range processors. There is also a DDR3 version, known as the X99HD3.
A close relative of this model is the Machinist X99-PR9 board, but there is also a visually similar board running on 5-series chipsets — the X99E.
Specifications
| Model | X99H v2.0 |
|---|---|
| Socket | LGA 2011-3 |
| Chipset | 8 Series PCH (H81/B85/Q87/Z97) |
| Supported Processors | Intel Core i7 (5000, 6000 series, Haswell-E/Broadwell-E) Intel Xeon E5-1600 v3/v4, E5-2600 v3/v4, E5-4600 v3/v4 (Haswell-EP/Broadwell-EP) |
| VRM Configuration | 3 phase (6 virtual via doublers) Total MOSFETs: 12 (6 high-side + 6 low-side) |
| Maximum Recommended TDP | ≤110W (v3 processors) ≤120W (v4 processors) |
| Supported Memory | 4 x DDR4 DIMM (dual-channel) with ECC and non-ECC support Maximum capacity: 128 GB |
| Sleep Mode Support | No |
| Expansion Slots | 1 x PCI-e x16 (Gen 3.0) 1 x PCI-e x1 (Gen 2.0) |
| Storage | 2 x SATA 2.0 1 x SATA 3.0 1 x M.2 (NVME/NGFF, Gen 3.0 x4) |
| Fan Connectors | 1 x CPU cooler (4pin) 1 x Case fan (4pin) |
| PS/2 Ports | 2 (mouse + keyboard) |
| USB 3.0 Ports | 2 (+ front panel support) |
| USB 2.0 Ports | 6 (+ front panel support) |
| Network | Gigabit LAN (RTL8111 \ RTL8168) |
| Audio | 5.1 channel (ALC897) |
| TPM 2.0 header | No |
| Form Factor & Dimensions | mATX 215 x 185 mm |
| Approximate Price |
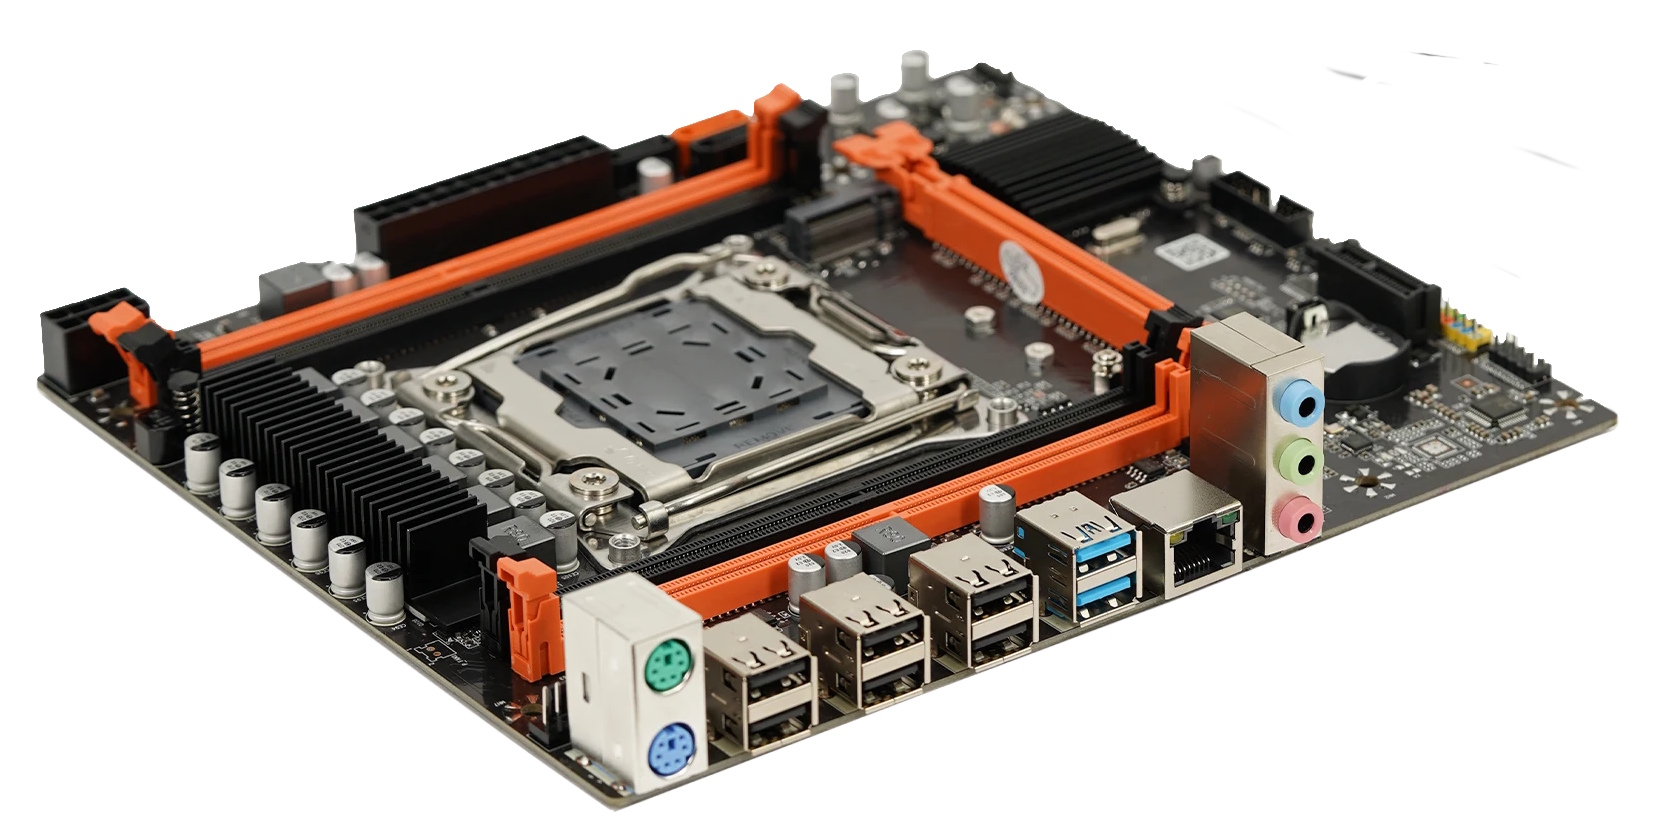
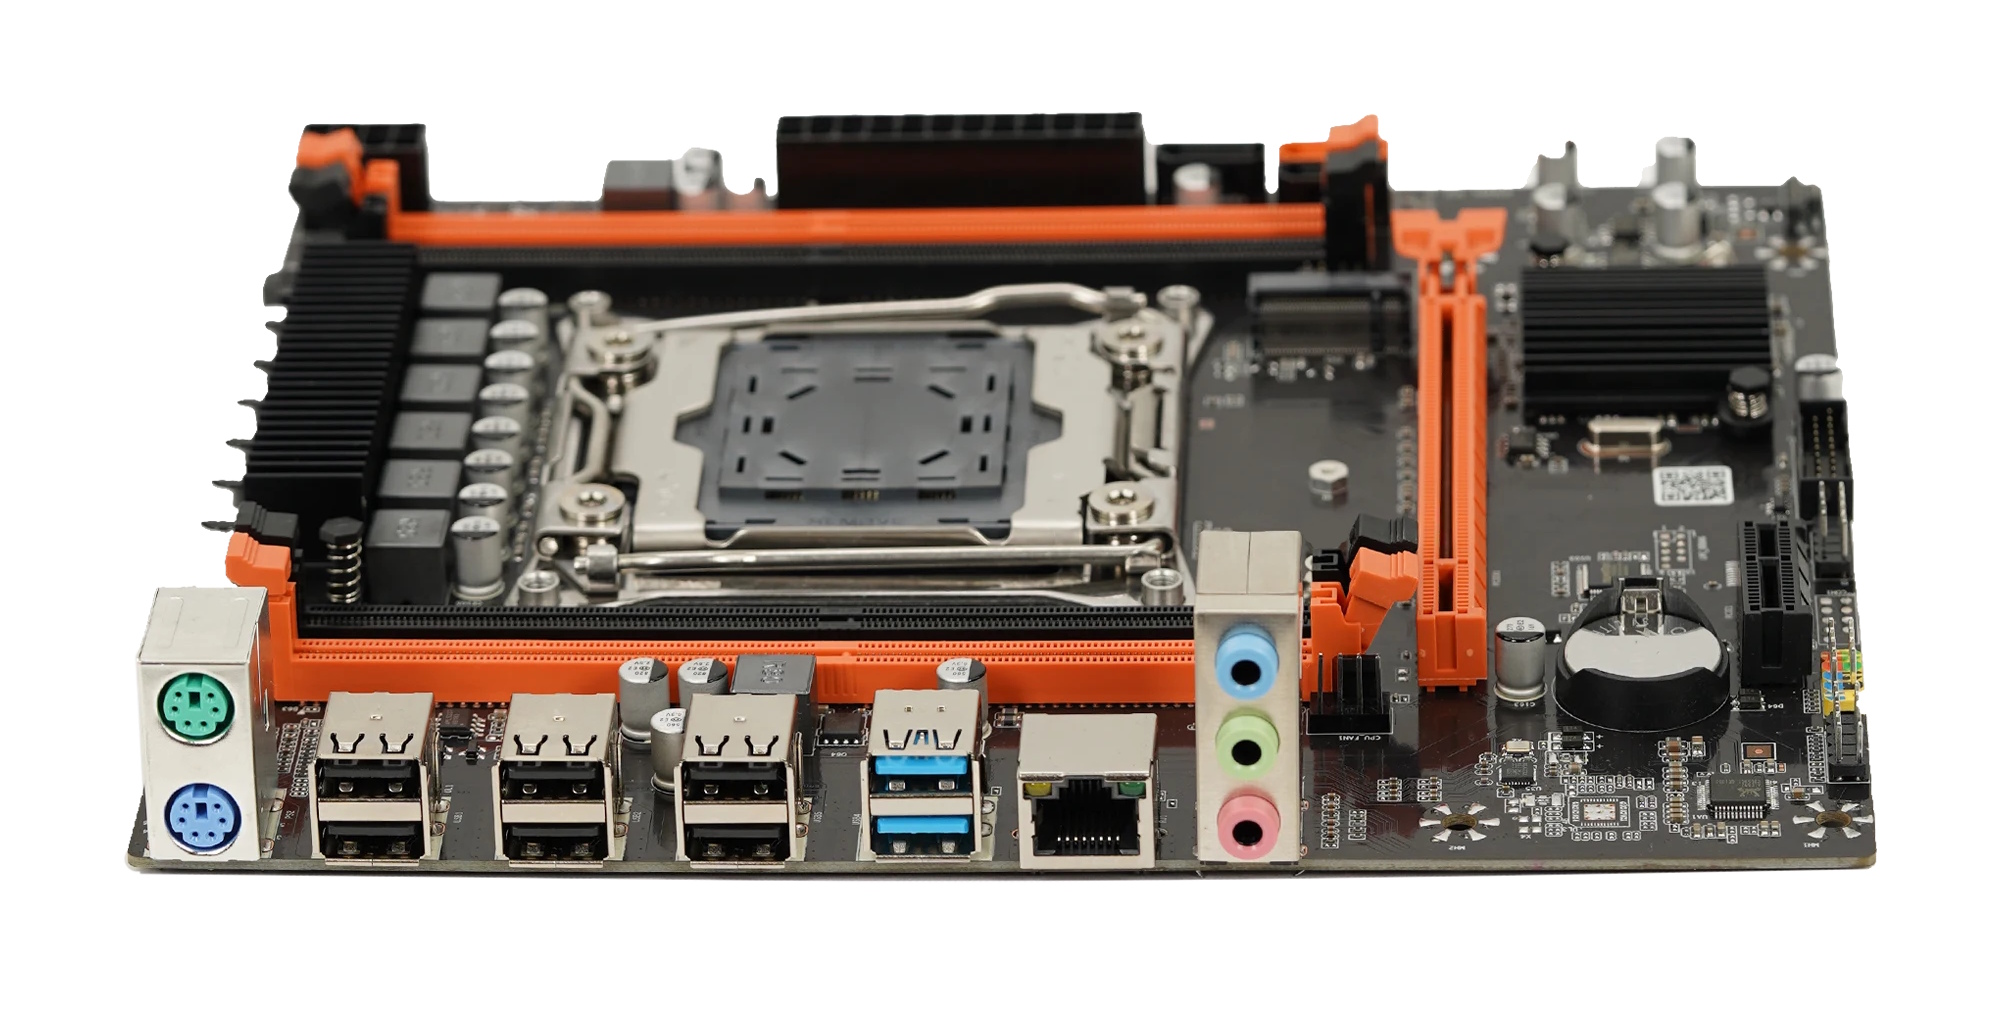
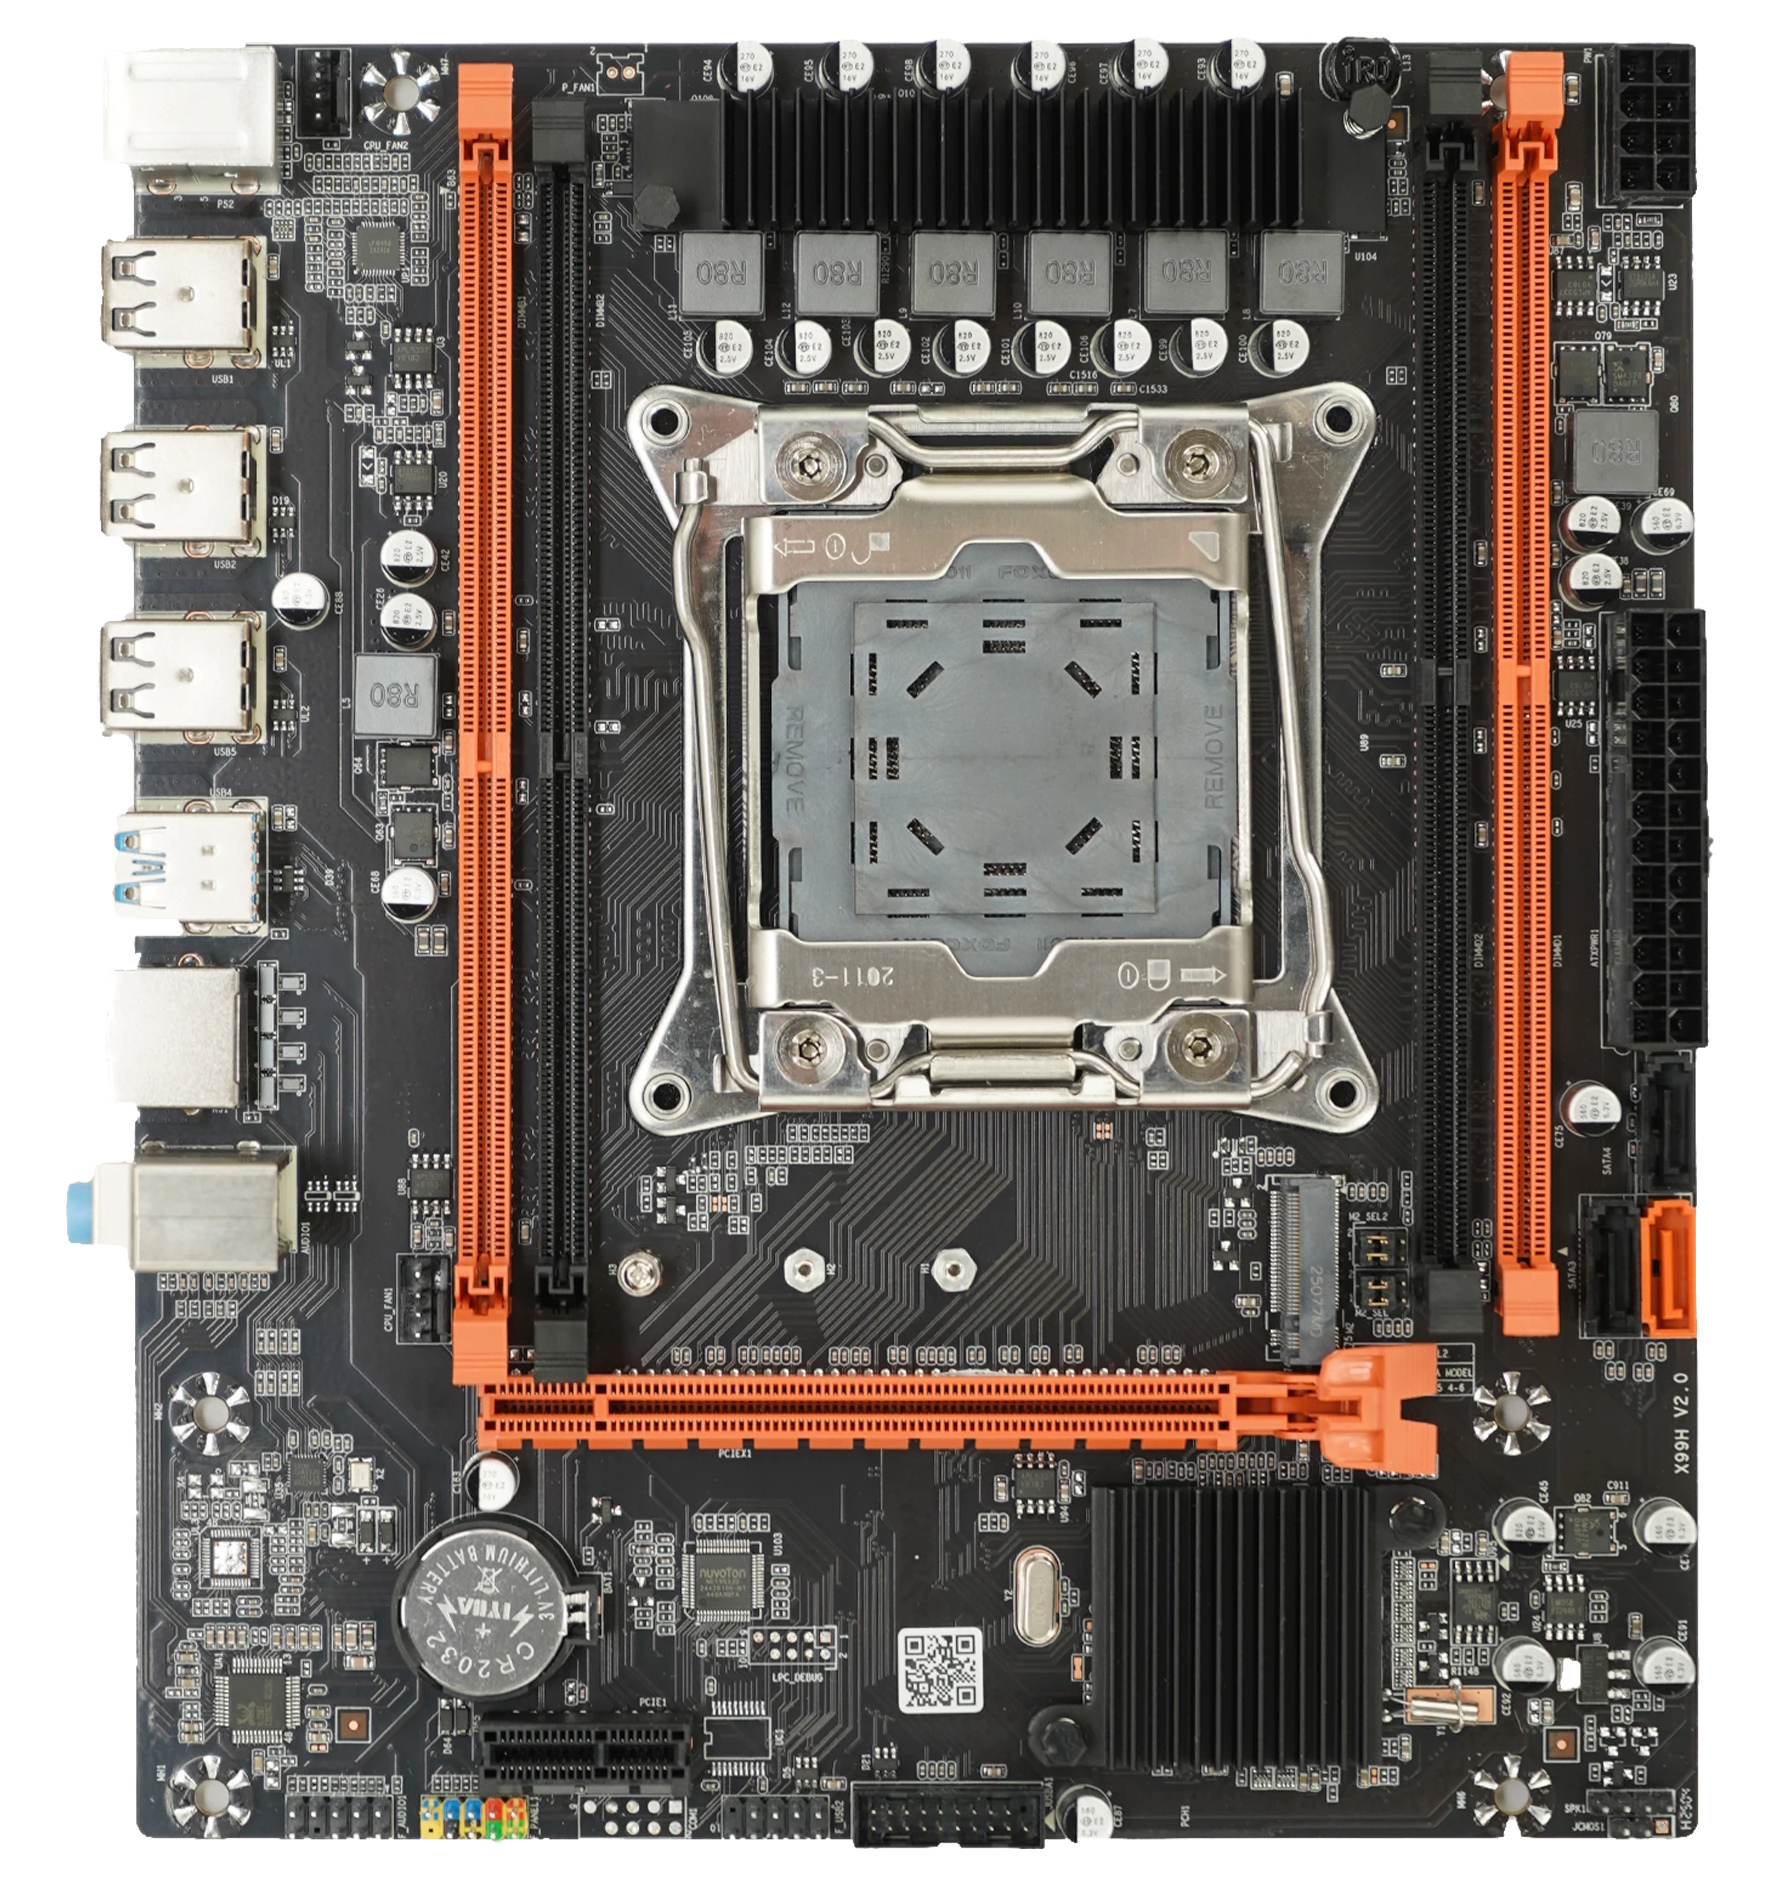
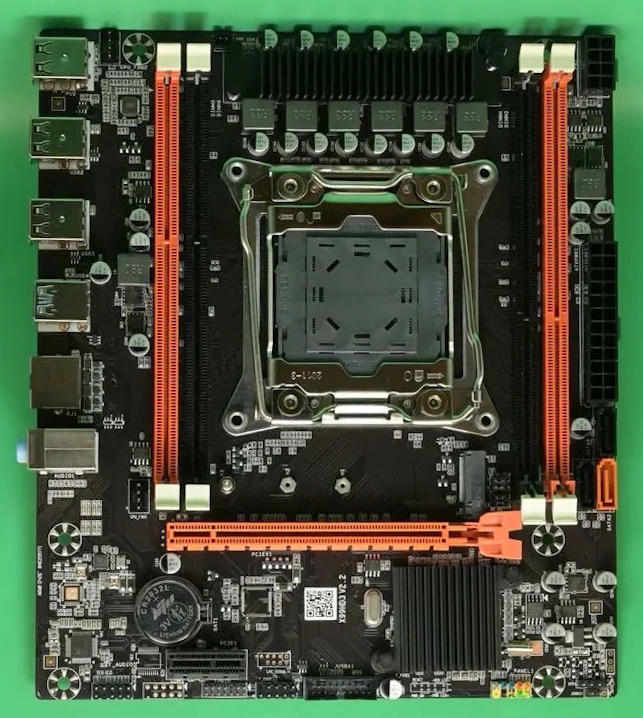
The X99H is built around Intel’s 8-series desktop chipsets. When this board first launched, this design was about as low-end as it got. Compared to the bare-bones 5-series models that came later, the X99H actually holds up reasonably well. At least here we get proper USB 3.0 ports and SATA III.
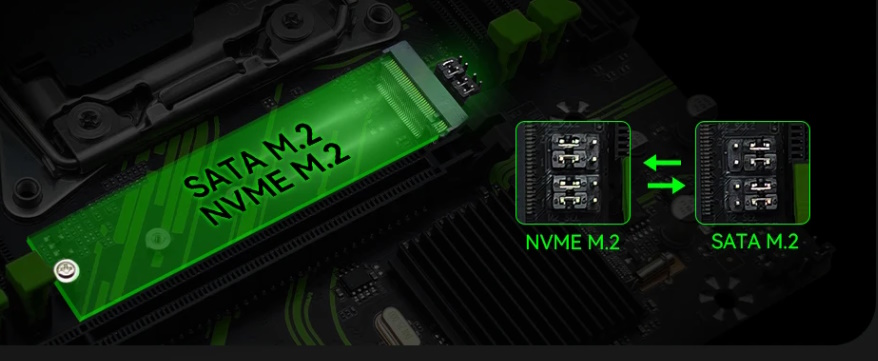
Besides three SATA ports, the storage subsystem also includes a single M.2 slot capable of working with both NGFF and NVMe (PCIe Gen3.0 x4) drives. Mode switching follows the classic approach for boards like this — via jumpers located next to the slot.
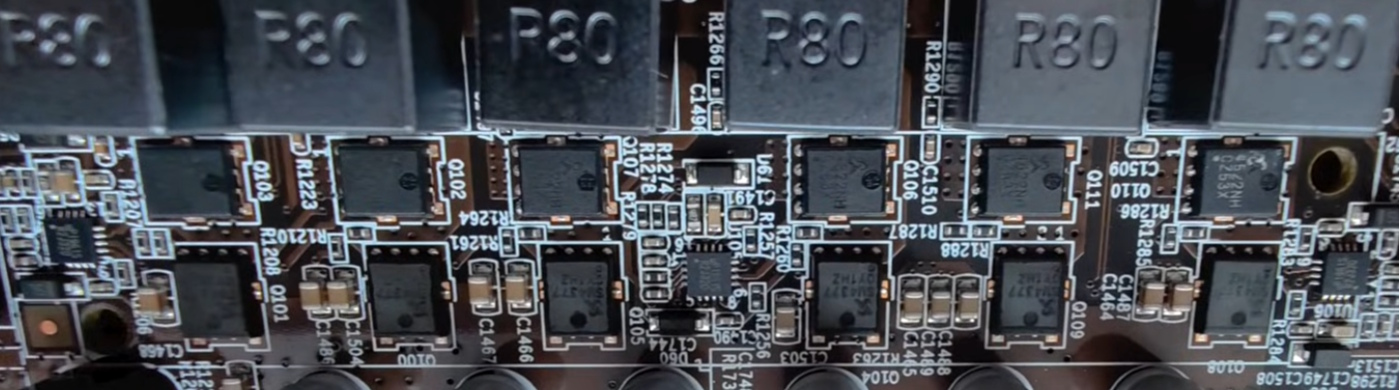
The VRM uses a standard 6-phase virtual layout (3 real phases with doublers). Each phase carries 2 MOSFETs (exact models may vary between revisions), covered by a small heatsink. It uses uP1961S doubler drivers (×3) and a uP1649Q controller. This is a typical configuration for all budget X99 boards and comfortably runs CPUs up to the Xeon E5 2680 v4.
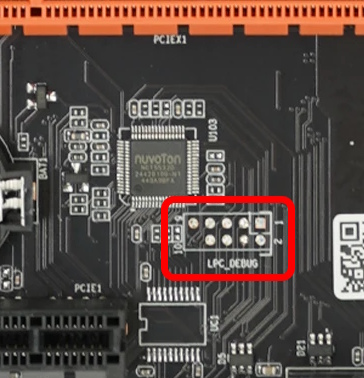
The X99H has no native port for TPM 2.0 modules. A debug port, like the COM port, is present on the PCB, but the pins are unpopulated. If connecting a TPM 2.0 module to this board is critical for you, solder pins onto the DEBUG port and look for a module compatible with its pinout. Keep in mind this connector has a 2.0 mm pitch, which will make the search somewhat harder. You can read more about TPM 2.0 on Chinese X99 boards in this article.
Otherwise, the X99H doesn’t stand out much within its category. On the plus side, it has two adjustable 4-pin fan connectors. On the downside: no POST code indicator and no onboard speaker (though at least you can connect an external one), no pin headers on the DEBUG and JCOM connectors, fairly basic onboard audio, and a finicky Fudan-made BIOS chip.
Revisions
Since its release, this board has gone through numerous hardware revisions, and we don’t have access to any changelog. At least the following versions are known: 1.0 / 1.11 / 1.21 / 1.31 / 1.41 / 2.0 / 2.01 / 2.2. Along the way, the audio and network chips, power delivery components, BIOS chip, and other components have changed.
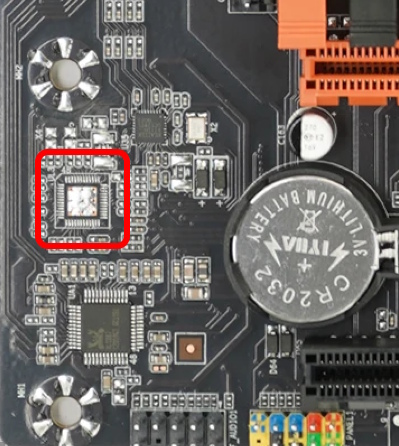
On most revisions, the Realtek RTL8111H LAN chip footprint near the battery is left empty, since the controller itself was simply moved a bit higher up, likely to reduce interference. On some builds, though, it’s populated on that exact “lower” footprint where it was originally meant to go.
Earlier revisions (presumably up through 1.21) are considered more problematic, and may come with a simpler audio chip (ALC662) and a 100 Mbit LAN chip, as well as, likely, a weaker VRM configuration. Starting from 1.31, though, the board can be considered more or less reliable, and revision 1.41 is still one of the most commonly encountered. Unfortunately, even the newer revisions never gained a native TPM 2.0 port or any other noticeable improvements. And the mess of hardware revisions combined with endless firmware variants only creates more confusion.
Unfortunately, even boards belonging to the same revision can have differences, meaning no two X99H boards are guaranteed to be identical.
BIOS Features
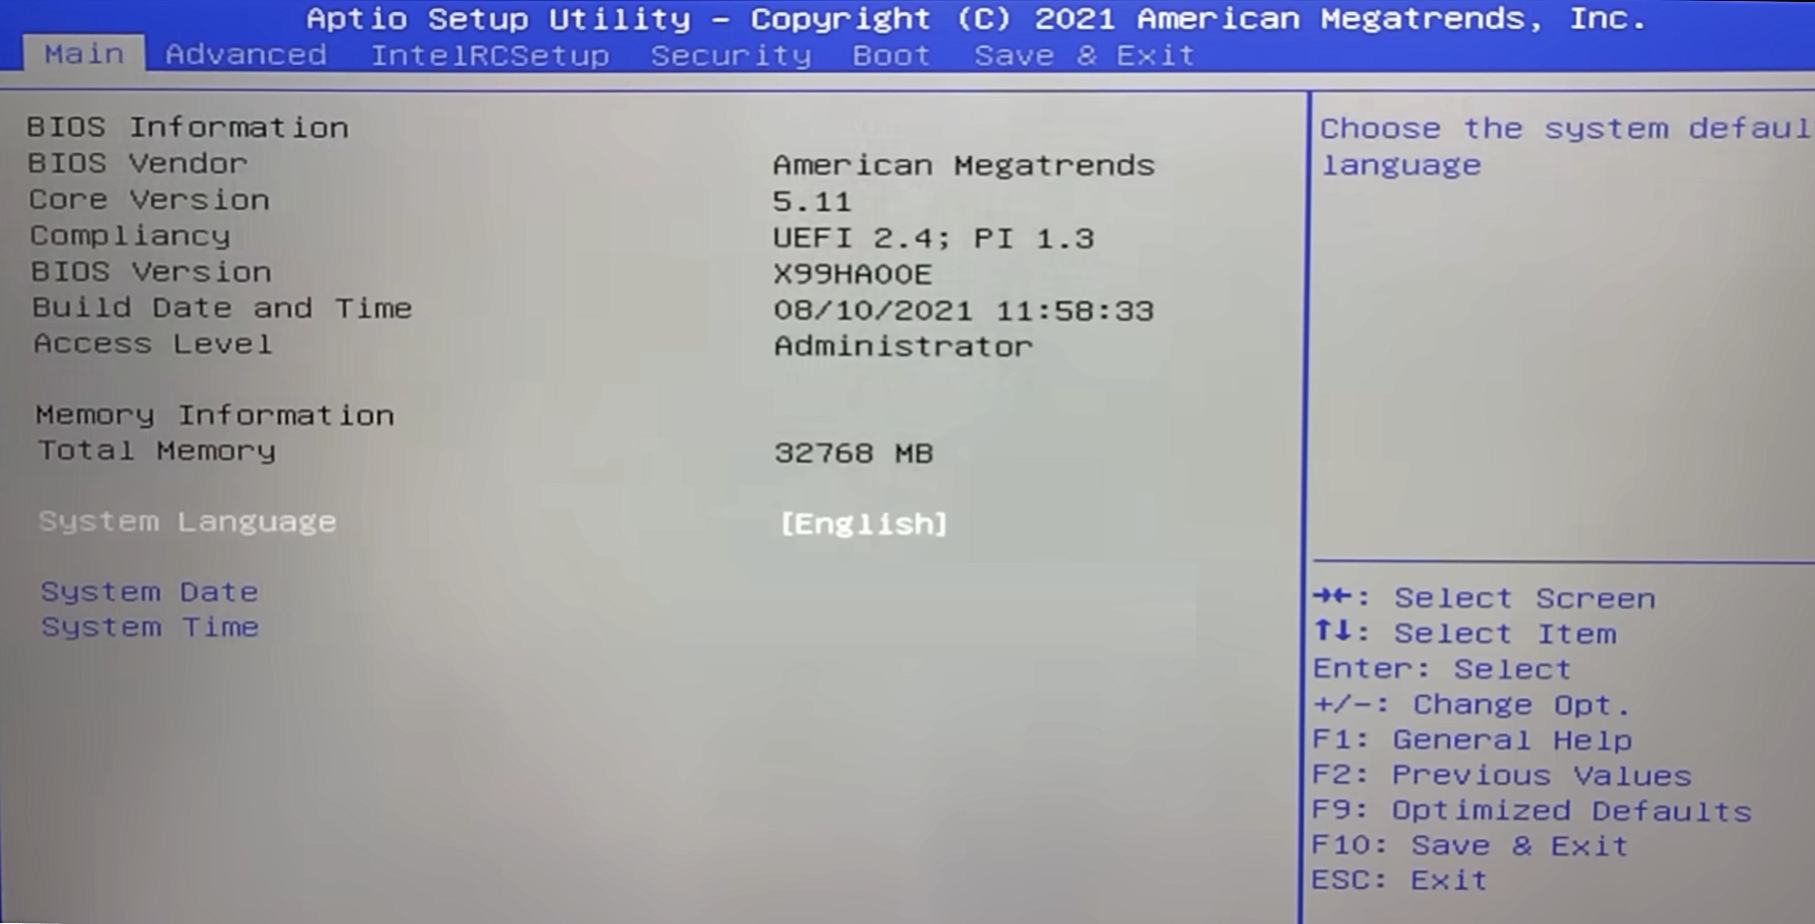
This board ships with the standard AMI APTIO V BIOS found on most Chinese X99 motherboards. Just like the board revisions, there are quite a few firmware versions, but the feature set is nearly identical across all of them and fairly modest. We get access to RAM timing adjustments, and some versions include ReBAR. Unfortunately, no version supports either Secure Boot or TPM 2.0, so getting those features requires cross-flashing BIOS images from similar motherboards.
All the usual shortcomings typical of Chinese boards are present: inaccurate temperature sensors, non-functional menu items, and other minor rough edges.
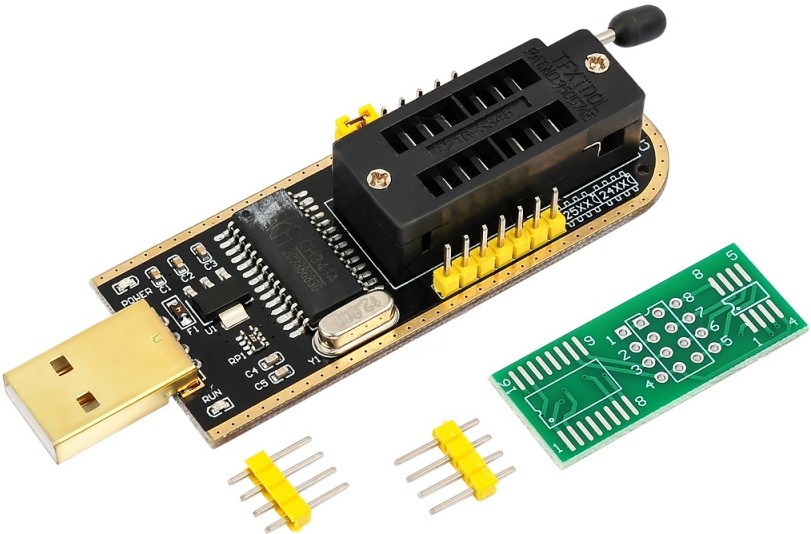
The main issue with X99H BIOS files is that you can never be 100% sure your particular board will work with any given BIOS. Even outwardly identical boards of the same revision, bought at different times, can behave completely differently with the same firmware. That doesn’t mean you won’t find the right firmware — just keep an SPI programmer nearby and be ready to test multiple BIOS images until you find one that works.
| BIOS version | BIOS date | Board rev | Ram Timings | ReBAR | Secure Boot | TPM 2.0 | TBU (Undervolt) | Notes & Link |
|---|---|---|---|---|---|---|---|---|
| X99HA00E | 08/10/2021 | 1.21-1.31 | + | - | - | - | - | Stock BIOS [Download] |
| X99HA00E | 08/10/2021 | 1.21-1.31 | + | - | - | - | + (-50 mV) | Stock BIOS mod (TBU+undervolt) [Download] |
| X99HA00L | 11/25/2022 | 1.41 | + | - | - | - | - | Stock BIOS [Download] |
| X99HA00N | 05/09/2023 | 1.41 | + | - | - | - | - | Stock BIOS [Download] |
| X99HA00N | 05/09/2023 | 1.41 | + | - | - | - | + (-50 mV) | Stock BIOS mod (TBU+undervolt) [Download] |
| X99HA00R | 10/27/2023 | 2.0 | + | + | - | - | - | Stock BIOS [Download] |
| X99HA00R | 10/27/2023 | 2.0 | + | + | - | - | + (-40 mV) | Stock BIOS mod (TBU+undervolt) [Download] |
| X99HA00T | 09/11/2024 | 2.01 | + | + | - | - | + (-60 mV) | Stock BIOS (X99HD3) [Download] |
| X9MRA Ver:002 | 08/11/2022 | - | + | - | + | + | + (-40 mV) | Mod BIOS from Machinist X99-MR9A. Compatible with SOME Revision 1.41 boards. May also work on other revisions. Flash the firmware at your own risk; recovery is only possible using an SPi programmer. [Download] |
Simple BIOS Flashing Guide (Windows)
- Download FPTW 9.1.10 from this page.
- Open Command Prompt as Administrator.
- Copy your BIOS file (
bios.binorbios.rom) into the same folder as FPTW. - In the Command Prompt, navigate to the FPTW folder using the
cdcommand. - Flash the BIOS with the following command:
fptw64 -f bios.bin
Note: Before flashing, make sure the Host Flash and GBE Flash protections are disabled in the BIOS under the Security Configuration section. After flashing, reset settings to defaults (Clear CMOS) before first boot.
Frequently Asked Questions
The board won’t boot, black screen, etc. — what should I do?
Check out our guide to the most common LGA2011‑3 issues.
Where can I find drivers for this board?
Our current driver collection for socket 2011‑3 boards is here.
Which memory slots are primary?
The orange slots (the ones farthest from the CPU socket).
Where’s the BIOS chip located?
To the right of the chipset heatsink. Nearby capacitors can make attaching an SPI programmer clip tricky.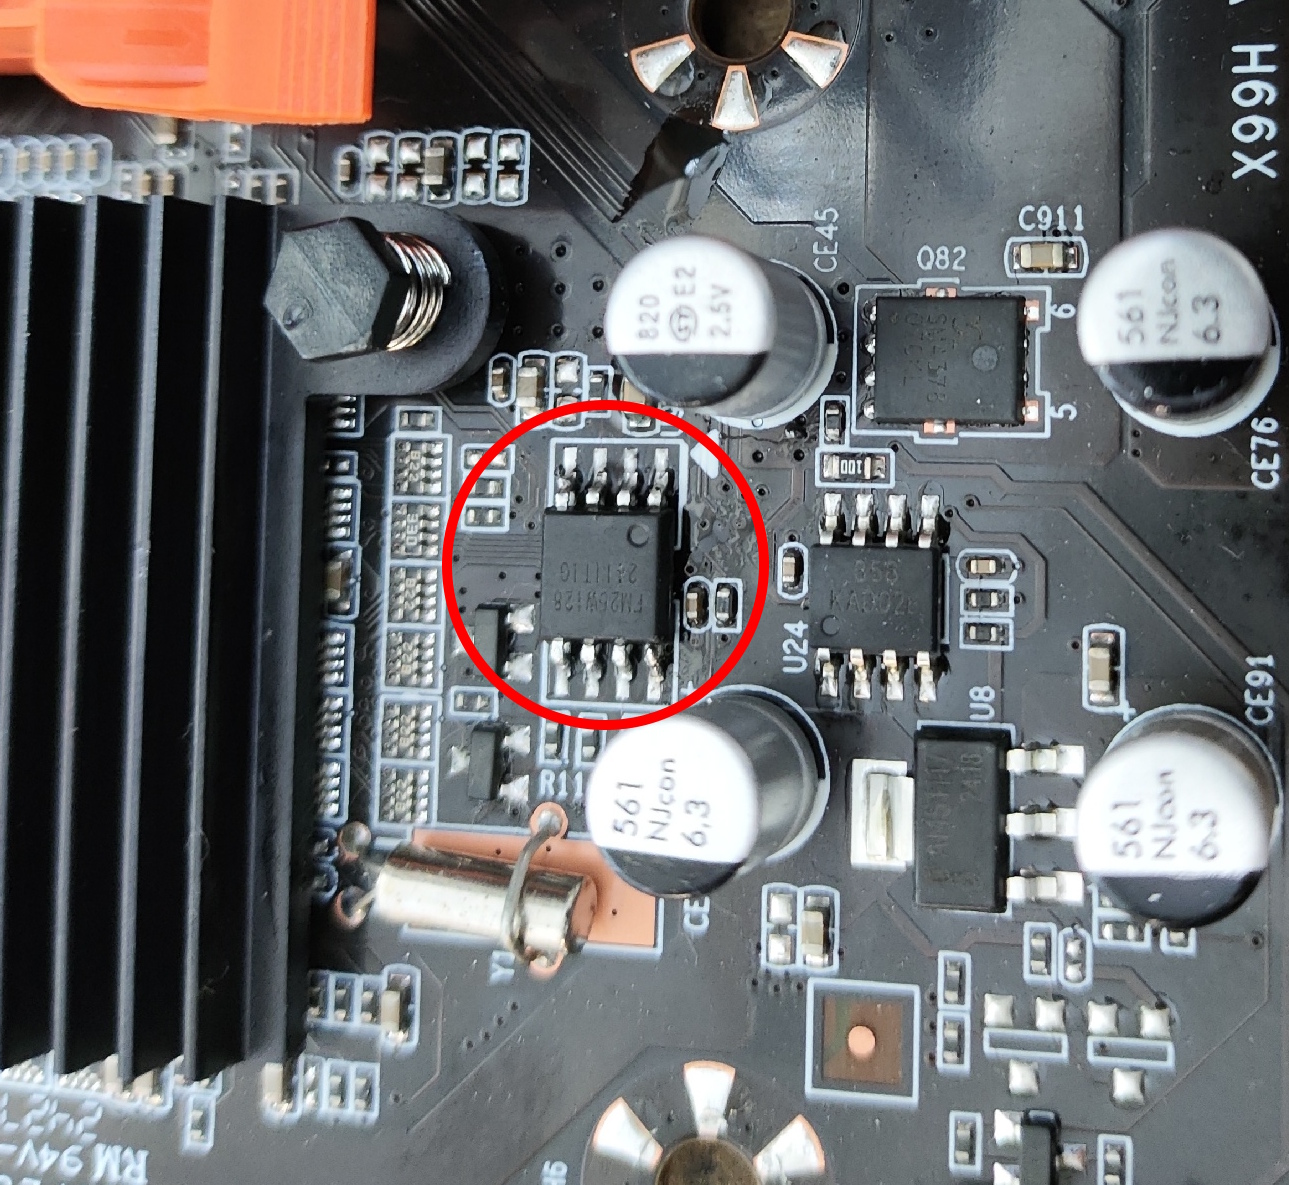
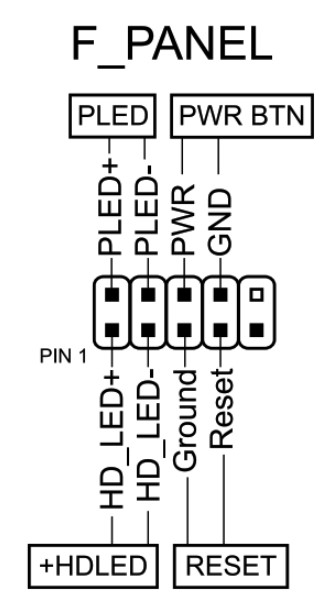
How do I connect the front panel?
Conclusion
OldRigRevive Review
4.5
3.5
3.9
4.3
“The X99H isn’t the worst budget board out there, but it’s hard to recommend outright. It’s been around for years, resulting in a confusing sea of revisions. Its decent overall specs are let down by bare-bones firmware and the lack of native TPM 2.0 support.”

Written by
Senior Hardware Specialist proving you don't need top-tier gear to game. Expert in smart upgrades and budget-friendly PC restoration.